10x12 Woodworking Shop Plans – Complete Compact Workshop Layout Guide
Optimized layout plans for a 10x12 workshop. Smart tool placement, dust collection, workbench positioning, and storage solutions for maximum efficiency.
Optimized layout plans for a 10x12 workshop. Smart tool placement, dust collection, workbench positioning, and storage solutions for maximum efficiency.
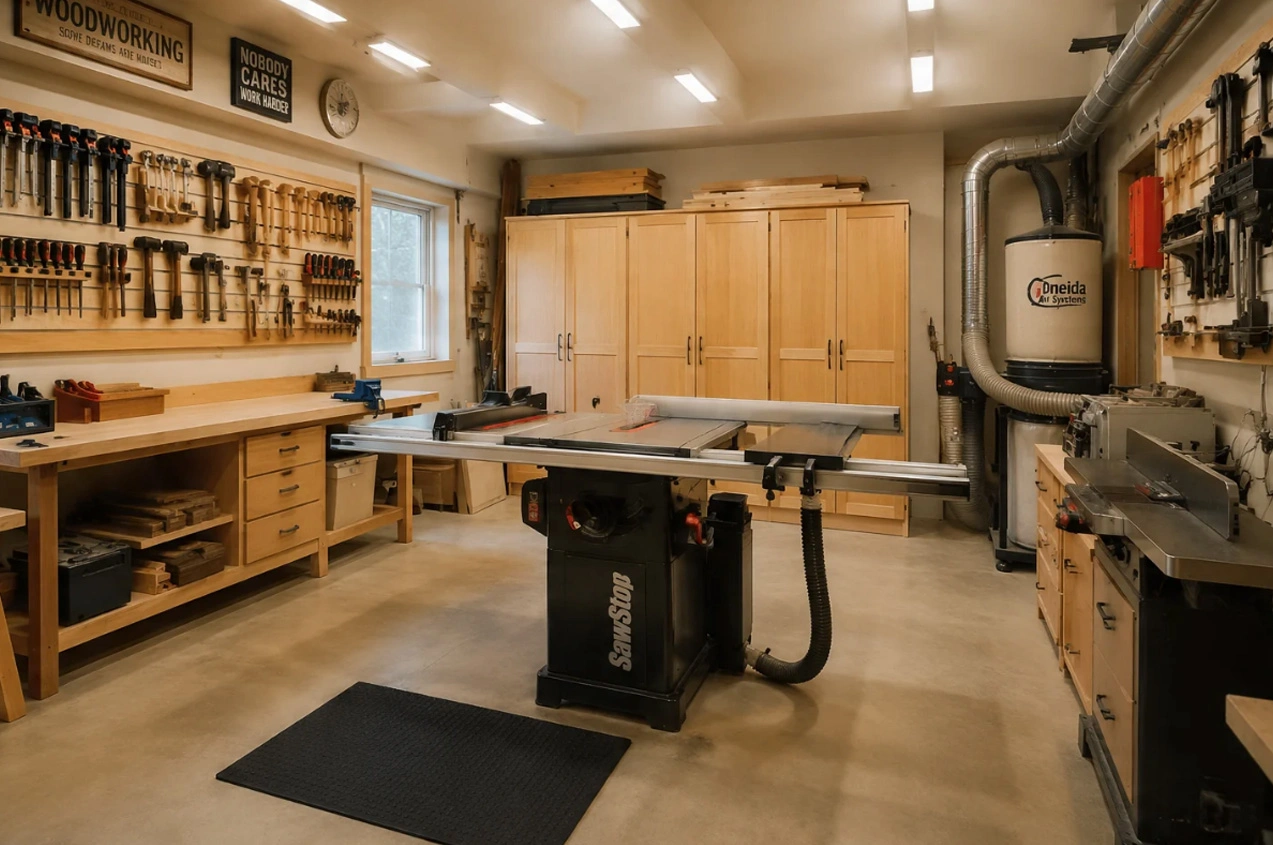
Looking for complete 10x12 woodworking shop plans? You've come to the right place. A 10x12 workshop (120 square feet) is one of the most popular sizes for home woodworkers — it's big enough to fit essential tools but small enough to fit in a standard garage or backyard shed. The key to making this space work is smart layout planning. In this guide, I'll show you exactly how to arrange your table saw, workbench, dust collector, and tool storage to create an efficient workflow. These 10x12 woodworking shop plans are based on real-world experience from thousands of woodworkers who have built successful compact workshops. You'll learn the optimal work triangle layout, space-saving storage solutions, and essential safety considerations for a small shop. Let's design your dream workshop.
The best layout places the table saw in the center for infeed/outfeed space, workbench against the long wall, dust collector in a corner, and tool storage on the walls. This creates an efficient workflow triangle.
Yes. Position the table saw in the center of the shop with at least 6 feet of clearance on the infeed and outfeed sides. A contractor saw or job-site saw works best for this size space.
Standard workbench height is 34 to 36 inches, which works for most woodworkers. If you're taller or shorter, adjust accordingly — your arms should be at a 90-degree angle when working on the bench.
Yes, absolutely. A small workshop still produces significant dust. A 1-2 HP dust collector with a fine filter is sufficient for a 10x12 space. Position it in a corner with ducting to your main tools.
A 10x12 woodworking shop hits the sweet spot for home woodworkers. It's large enough to accommodate all the essential tools — table saw, workbench, bandsaw, drill press, and dust collector — yet compact enough to fit in a standard garage bay or backyard. The 120 square feet of floor space forces you to be intentional about tool placement, which often leads to a more efficient workflow than larger, less organized shops.
Many woodworkers start with a 10x12 shop because it's affordable to build (whether as a shed or garage conversion) and easy to heat and cool. With the right layout, you can work on furniture projects up to 8 feet long comfortably. Let's break down exactly how to make every square foot count.
The most efficient 10x12 workshop layout follows the "work triangle" principle used in kitchen design. Your three main work zones should form a triangle:
This triangle minimizes walking distance between operations, saving you time and energy during every project.
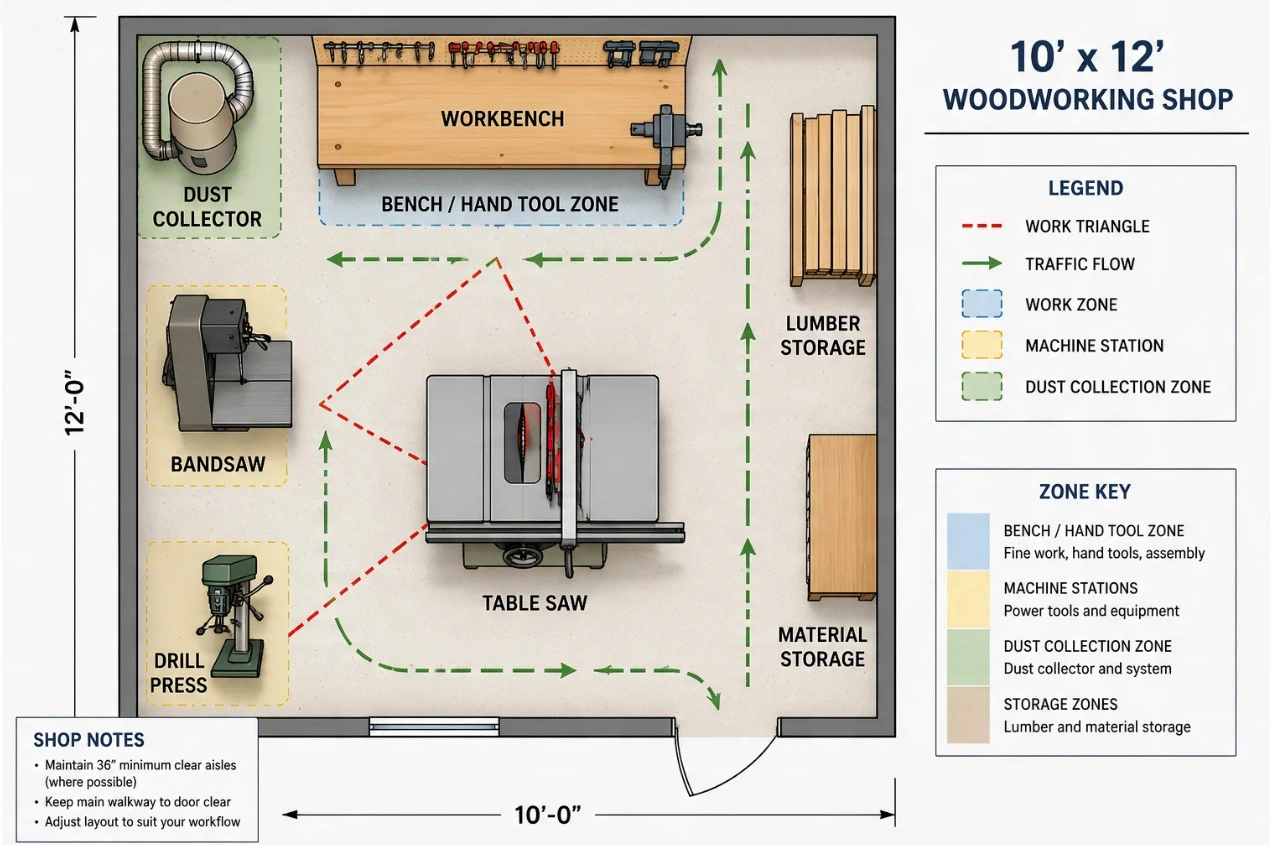
Place your table saw in the center of the 10x12 shop, about 4 feet from the front wall. This gives you approximately 8 feet of outfeed space toward the back wall — enough to rip 8-foot boards safely. If your shop has a garage door, position the saw so long lumber can extend out the door when needed. For a 10x12 space, a contractor saw or job-site saw with a 30-36 inch rip capacity is ideal. Avoid large cabinet saws that take up too much floor space.
Your workbench should run along one of the 12-foot long walls. A bench that's 6 to 8 feet long, 2 feet deep, and 34-36 inches high provides plenty of space for assembly, joinery, and finishing. Place it on the wall opposite your stationary tools to create a clear central workspace. Include tool drawers and shelves underneath the bench to keep frequently used hand tools within arm's reach.
Arrange your stationary tools (bandsaw, drill press, jointer, planer) along the remaining wall space. The bandsaw and drill press can go against the wall, with the jointer and planer positioned near the dust collector. Keep tools that need infeed/outfeed space (like the jointer) facing the central open area. Use mobile bases on all stationary tools so you can move them when working on larger projects.
Place your dust collector in a corner, ideally near the tools that produce the most dust (table saw, jointer, planer). A 1-2 HP dust collector with a fine filter (1 micron or better) is sufficient for a 10x12 shop. Run 4-inch ducting to your main tools, with blast gates to control airflow. If space is tight, consider a wall-mounted dust collector that doesn't take up floor space.
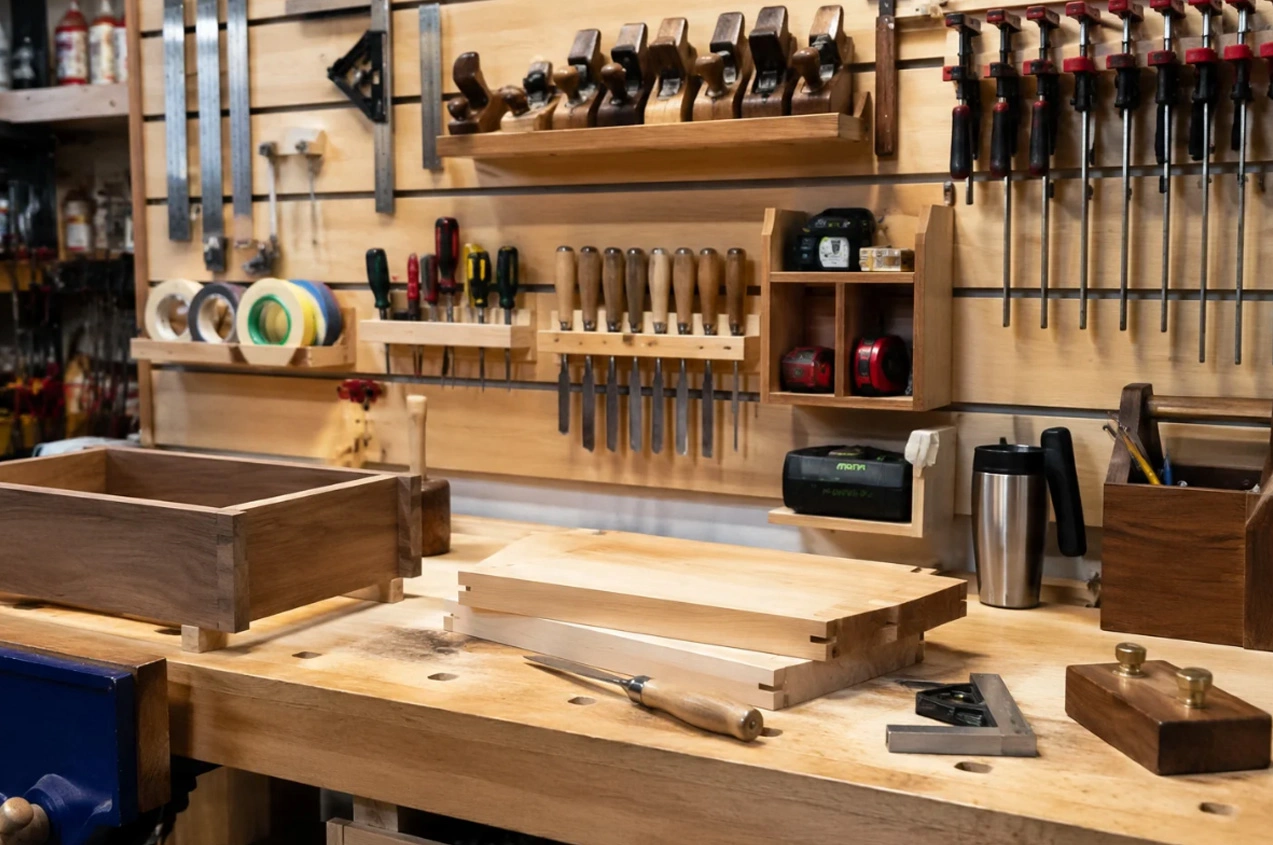
With only 120 square feet of floor space, wall storage is essential. Install French cleats or pegboard on the walls for hanging clamps, hand tools, and frequently used accessories. Build upper cabinets or shelving above the workbench and stationary tools for lumber storage, finishes, and supplies. Use the space above the door for long lumber storage.
Not every tool will fit in a 10x12 space. Here's a priority list of tools that work best in a compact shop:
Proper lighting and electrical power are critical in a 10x12 workshop. Install LED shop lights with at least 5000 lumens total for full coverage. Position lights directly above the table saw and workbench for shadow-free work. For electrical power, you'll need:
Working in a small shop requires extra attention to safety. Here are essential tips:
The best layout places the table saw in the center for infeed/outfeed space, workbench against the long wall, dust collector in a corner, and tool storage on the walls. This creates an efficient workflow triangle.
Yes. Position the table saw in the center of the shop with at least 6 feet of clearance on the infeed and outfeed sides. A contractor saw or job-site saw works best for this size space.
Standard workbench height is 34 to 36 inches, which works for most woodworkers. If you're taller or shorter, adjust accordingly — your arms should be at a 90-degree angle when working on the bench.
Yes, absolutely. A small workshop still produces significant dust. A 1-2 HP dust collector with a fine filter is sufficient for a 10x12 space. Position it in a corner with ducting to your main tools.
You can work with standard 8-foot lumber lengths comfortably. For 10-12 foot boards, position your table saw and workbench to allow material to extend out the door or through a dedicated opening.

Mahasa — Master Woodworking Educator Since 2004
Mahasa has been teaching woodworking for over 20+ years and has helped 2,800+ students worldwide build beautiful furniture with confidence. His expertise spans furniture design, joinery, workshop planning, and wood finishing. He created the 23+ Essential Woodworking Plans PDF Bundle to make woodworking accessible to beginners and students everywhere.
Design your dream 10x12 workshop using these plans, then explore our full 23+ Woodworking Plans PDF bundle for your next project.
Get The Complete Bundle ↗