
Plans for Dovetail Jewelry Chest – Free Wooden Jewelry Box Plans PDF
Build a stunning heirloom keepsake box with hand-cut dovetail joints. Get our printable jewelry box plans complete with a full cut list and diagrams.
Build a stunning heirloom keepsake box with hand-cut dovetail joints. Get our printable jewelry box plans complete with a full cut list and diagrams.
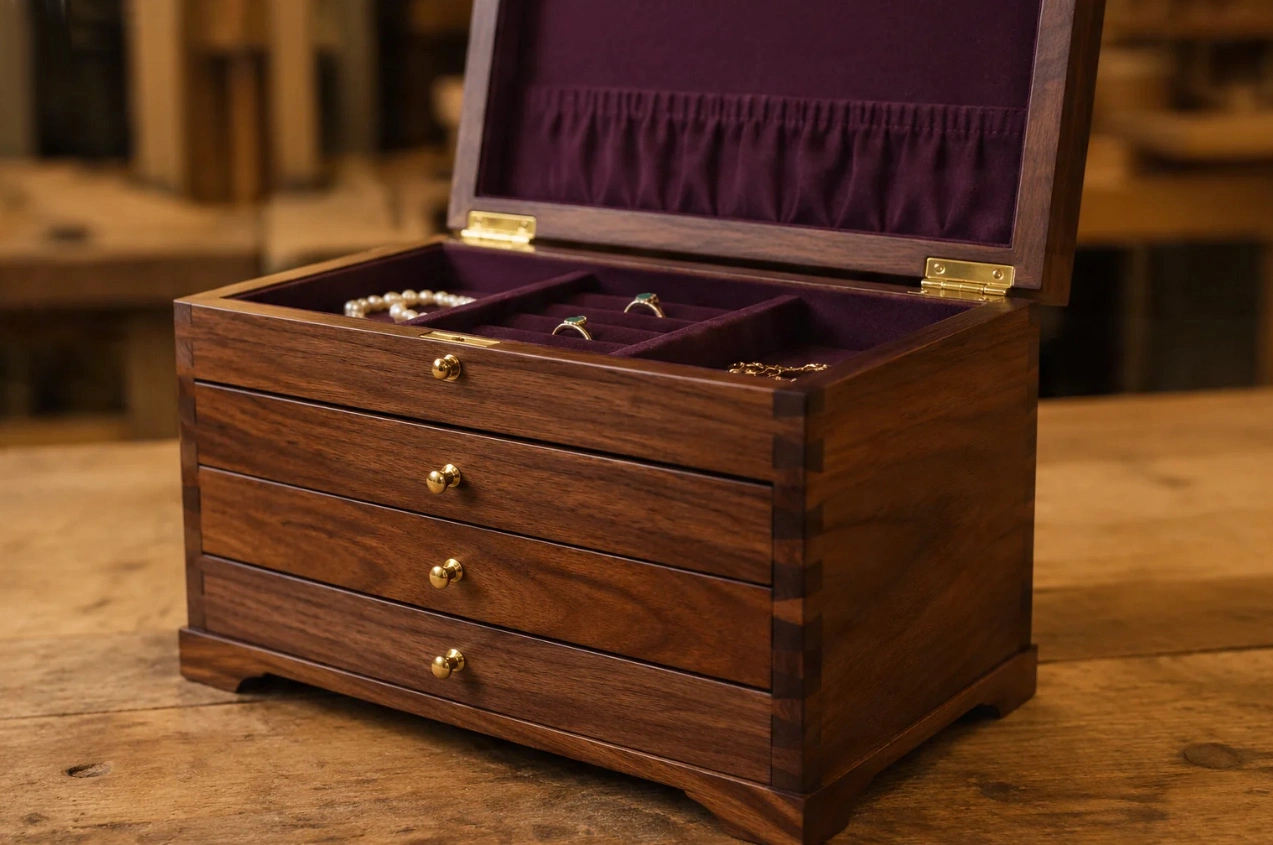
Looking for complete plans for dovetail jewelry chest projects? You've come to the right place. If you want to learn how to make a wooden jewelry box that balances classic elegance with structural permanence, this guide provides our comprehensive DIY jewelry box plans package for free. The finished box measures 14 inches wide, 10 inches deep, and 8 inches tall, making it an ideal workspace milestone for intermediate woodworkers. Rather than settling for generic easy jewelry box woodworking plans, this design relies on traditional interlocking corners to ensure maximum stability. Our free wooden jewelry box plans pdf details every single step required to prep your stock, lay out your joinery, and secure a floating base. Let's get started building your next premium workshop masterpiece.
Yes, this online manual serves as a completely digital blueprint. You can easily save this webpage directly from your browser as a set of printable jewelry box plans to reference inside your shop.
Absolutely. The overall internal dimensions and traditional structure make this layout easily adaptable for anyone sorting through keepsake box woodworking plans or wooden memory box plans.
You need a specialized dovetail saw, a standard marking gauge, sharp bench chisels (1/4", 1/2", 3/4"), a wooden mallet, a coping saw, and a combination square.
If you prefer a simpler workflow, you can follow the exact dimensions listed in our cut list but swap out the advanced hand-cut joints for basic miters or butt joints reinforced with wood dowels.
Building a traditional hand cut dovetail box remains a fundamental rite of passage for any serious woodworker. The mechanical locking function of the dovetail joint has been trusted by master craftsmen for centuries because it distributes stress naturally across the wood fibers without relying on hidden metal fasteners. When analyzing common jewelry box woodworking plans free alternatives online, you'll find that many rely solely on modern adhesives. However, integrating authentic joinery ensures your project will withstand seasonal humidity changes without splitting. Whether you are using these blueprints as a foundation for a custom storage chest, or simply looking for reliable small wooden jewelry box plans, learning these manual steps will instantly elevate your craftsmanship.
Before making any rough cuts, ensure your lumber inventory is completely prepped. Sourcing high-grade material is vital when executing clean joinery lines.
Having the correct edge tools on hand will dictate how easily your joinery slots together during final assembly:
Mill your primary stock down to flat, uniform sheets before executing your final crosscuts. Adhering strictly to these specific dimensions ensures your internal layout remains square:
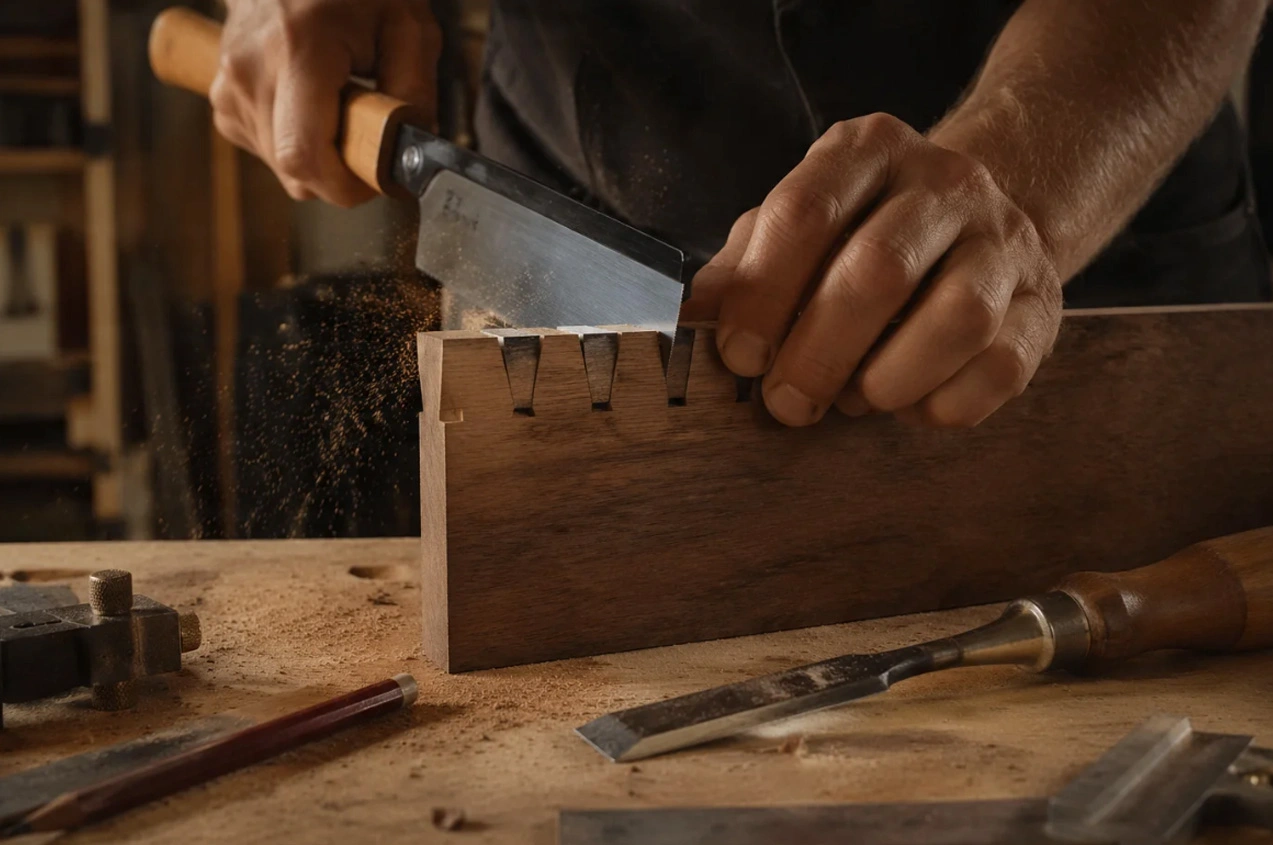
Set your marking gauge exactly to the thickness of your lumber stock. Scribe a crisp baseline around all faces of your four main panels. Using a sharp layout knife, establish your tail configurations on the front and back pieces. For a traditional look, aim for a 1:8 ratio spacing layout. Mark your waste sections clearly with an "X" to prevent accidental saw cuts.
Secure your tail board vertically inside your workbench vice. Using your joinery saw, make vertical cuts straight down to the scribed baseline, ensuring you stay completely on the waste side of your line. Use a coping saw to clear out the inner baseline waste, then drop down with a wide bench chisel to square up the bottom floor of each recess.
Place your prepped tail board horizontally over the end grain of your pin board. Scribe the tail outlines directly onto the pin board using a sharp layout awl. Take your time sawing these pins out, working exactly on the waste side of your knife lines. Clear the remaining material out using your narrow chisels until the fingers fit together smoothly.
Assemble the four corners carefully without any adhesive to verify alignment. If the panels bow or bind, pare down the high spots with a wide chisel. When satisfied, spread an even layer of wood glue over all mating faces. Clamp the assembly firmly and measure across the diagonals to confirm the frame is perfectly square before the glue cures.
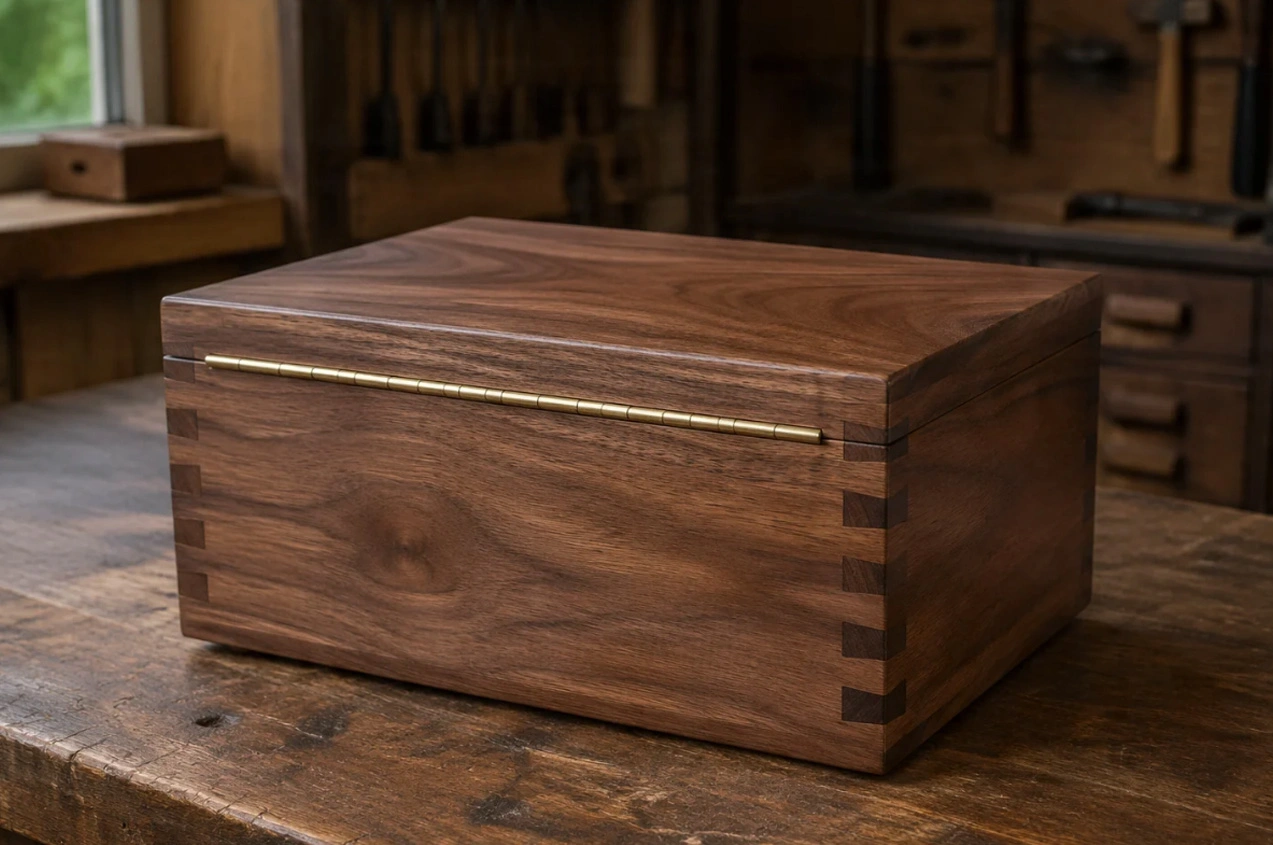
Cut a 1/4-inch wide by 1/4-inch deep groove along the lower internal edges of the box frame using a router or dado stack. Slot your floating base panel inside the framework before pinning the final side closed. Trim your lid down to fit flush against the outer perimeter, and install your continuous brass hinge using a drill pilot bit to avoid snapping the small mounting screws.
Work your way through your sandpaper grits methodically, moving from 120 grit up to 320 grit to remove all minor mill marks. Wipe down the entire surface to clear out lingering wood dust. Wipe on a thin, even coat of Danish oil or shellac to bring out the natural grain contrast. Let the finish cure entirely in a dust-free environment before adding any fabric interior lining.
Achieving crisp, zero-gap joints requires patience and attention to detail. Follow these baseline shop practices to maximize your success:
Yes, this complete step-by-step guide is entirely free to follow online, offering professional dimensions for your workshop projects.
Yes, you can easily save or print this guide as a printable jewelry box plans resource directly from your browser to keep on your workbench.
You need a dovetail saw, marking gauge, chisels (1/4", 1/2", 3/4"), a mallet, a coping saw, and a combination square.
Absolutely. While this design features traditional hand-cut joints, you can simplify the build by substituting the dovetails with simple miter joints or butt joints.
Build this dovetail jewelry chest using these complete plans, then explore our full 23+ Woodworking Plans PDF bundle for even more projects.
Get The Complete Bundle ↗
Master Woodworking Educator · Since 2004 · 2,800+ Students Taught
Mahasa is a Master Woodworking Educator with over 20 years of hands-on experience in furniture making. He has helped thousands of students , from complete beginners to aspiring professionals , build beautiful, functional pieces with confidence. His 23+ Essential Woodworking Plans PDF collection is trusted by students in over 50 countries. Learn more about Mahasa →
