
How to Add a Juice Groove to a Cutting Board
Learn how to route a perfect juice groove into your DIY cutting board. I share my step by step process, from juice groove router jig plans to choosing the best router bit.
Learn how to route a perfect juice groove into your DIY cutting board. I share my step by step process, from juice groove router jig plans to choosing the best router bit.
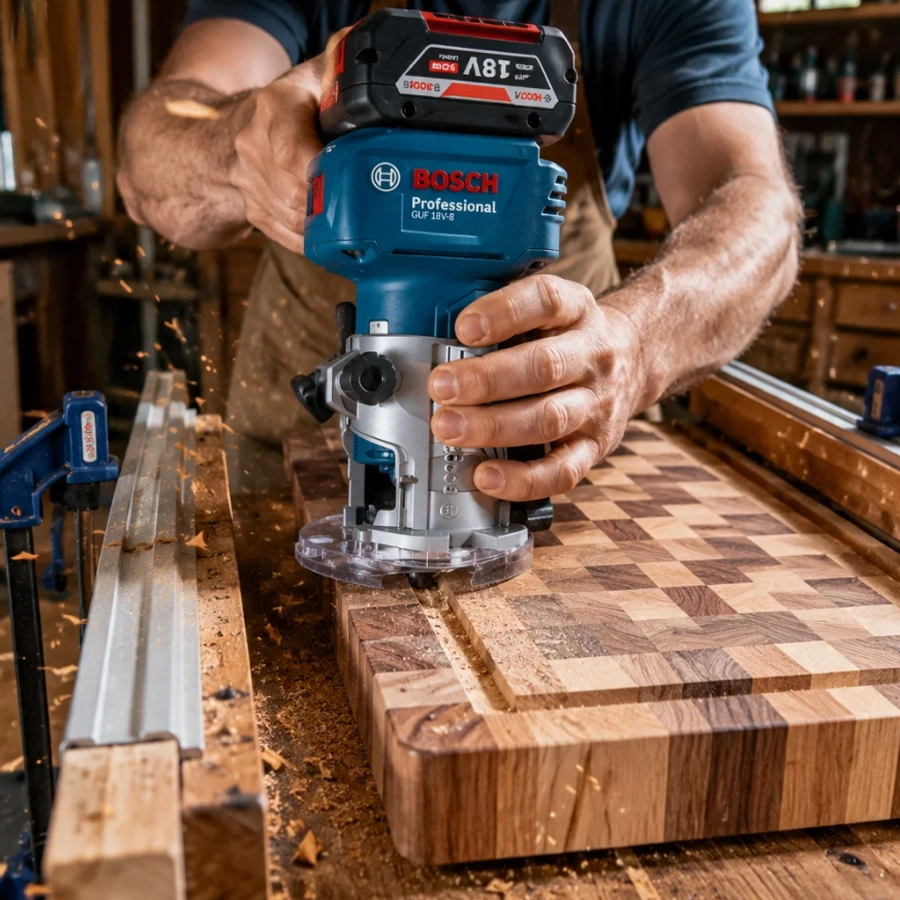
Adding a juice groove (sometimes called a blood groove cutting board feature) separates a good DIY cutting board juice groove project from a professional masterpiece. If you are making a large meat carving board for a roasted chicken or slicing a juicy watermelon, a flat board will instantly spill liquids all over your clean kitchen counter. A juice groove acts as a moat, catching those liquids before they create a mess. As a woodworking educator, I have watched countless beginners ruin a perfectly glued up butcher block in the final five minutes of the project because they tried to cut this groove freehand. It is a terrifying process if you do not have the right setup.

My go-to for precision trimming and grooving. High power, cordless convenience.
View on AliExpress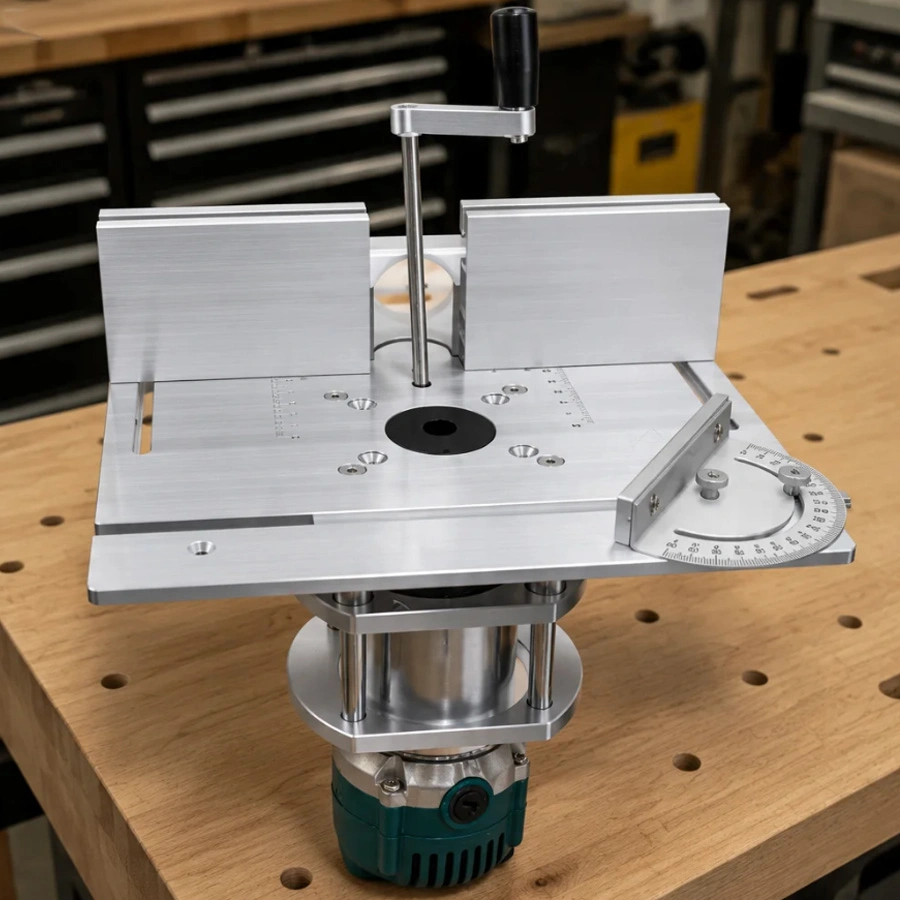
Essential for stable benchtop routing and maintaining perfect groove depth.
View on AliExpressIn this guide, I will show you exactly how to guarantee a flawless and burn free juice groove every single time. We will cover the specific router bit you need, the mathematical formula for spacing the groove from the edge, and the simple wooden jig that will guide your router safely around the perimeter. Building these types of functional jigs is a core skill in the shop, which is why I highly recommend maintaining a dedicated workbench setup, like the one detailed in my guide to choosing the best material for a heavy duty workbench top, to ensure your board is clamped on a perfectly flat surface before you begin routing.
The first step is selecting the right hardware. You need a plunge router equipped with a core box bit. This bit has a rounded tip that creates a smooth semi circular trench in the wood. I usually prefer a half inch diameter bit for medium boards, or a larger five eighths inch bit for massive carving blocks. Make sure your router bit is razor sharp. A dull bit will scorch the wood, leaving black burn marks inside the groove that are nearly impossible to sand out by hand. You also want to make sure your router has a flat base plate. If your router base is wobbly, the groove will be uneven.
Before you even plug the router in, you need to ensure your cutting board is dead flat. If the board rocks even slightly on your workbench, the depth of your groove will vary, and your router base might tilt and ruin the edge. If your board has cupped during the gluing process, you need to address that structural issue immediately. You can follow my specific instructions on how to flatten and repair a warped cutting board to bring the surface back to true level. A flat board is absolutely essential for a clean router pass.
You absolutely cannot do this freehand. You must build a jig. If you are searching for complex juice groove router jig plans, you will be surprised by how simple the concept actually is. The jig acts as a physical wall that traps the base of your router, forcing it to travel in a perfect rectangle.
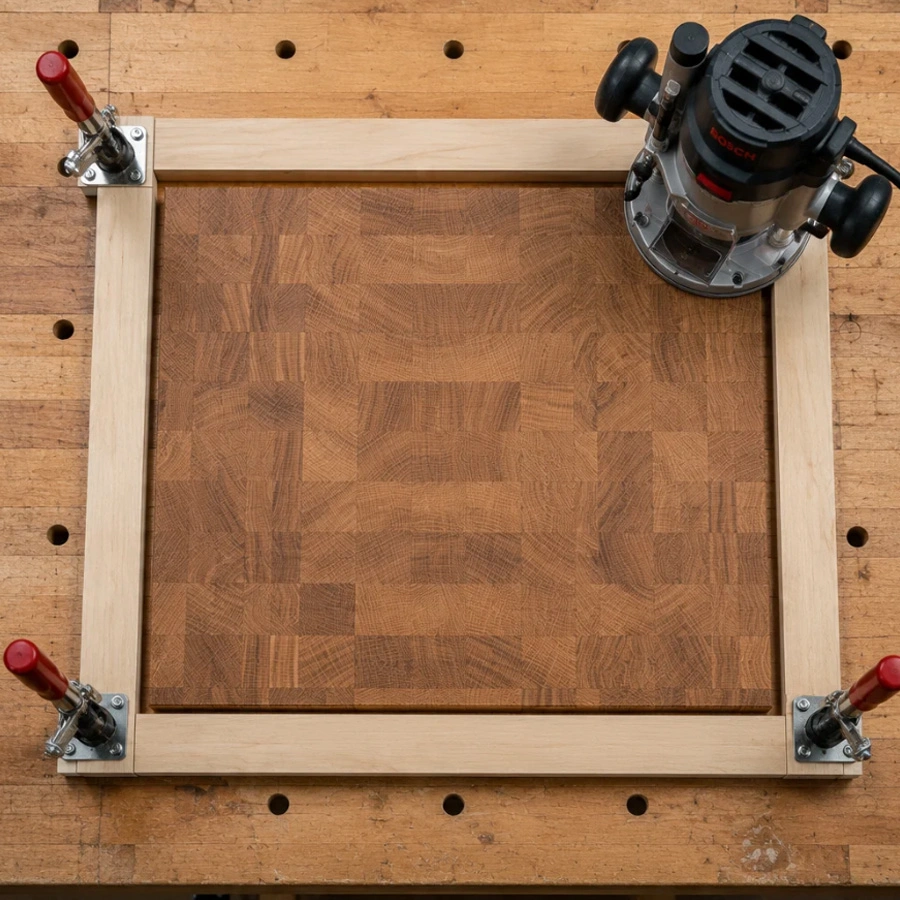
To build the jig, I take four straight pieces of scrap wood, usually MDF or high quality plywood, and lay them around the cutting board. But how do you know where to place them? You have to calculate the offset. Measure the distance from the outside edge of your router base to the exact center of the router bit. Let us say that distance is three inches. If you want your juice groove to be one inch away from the edge of the cutting board, you simply add those numbers together. Three inches plus one inch equals four inches. Therefore, you clamp your scrap wood exactly four inches away from the edge of the cutting board on all four sides.
This mathematical approach to layout is crucial. It prevents you from guessing and making a catastrophic mistake on a board you spent hours building. Planning your jig layout requires the same precision mindset you need when organizing your entire workspace, as discussed in my blueprint guide for organizing a compact ten by twelve woodworking shop layout. Once your jig is clamped down tightly, double check the measurements on all four corners to ensure the groove will be perfectly parallel to the edges of the board.
Now it is time to learn exactly how to route a juice groove safely. Put on your safety glasses and hearing protection. Place the router against the jig rail and turn it on. Plunge the bit down very slowly into the wood. For your first pass, only cut about one eighth of an inch deep. Push the router smoothly along the rails, keeping constant pressure against the jig to carve out a clean juice canal cutting board pathway. When you reach a corner, do not stop moving. If you pause the router in the corner, the friction of the spinning bit will instantly burn the wood. Keep a steady and fluid motion around all four sides.
When you complete the rectangle, switch the router off and let the bit stop spinning completely before you release the plunge lock and pull it out of the wood. Adjust the depth stop and make a second pass to reach your final depth, usually around three eighths of an inch. Taking multiple shallow passes is the secret to avoiding tear out and burn marks. After the cutting is done, you will need to sand the groove. I recommend wrapping a piece of two hundred twenty grit sandpaper around a wooden dowel that matches the curve of your router bit. This makes sanding the inside of the groove much easier and keeps the edges crisp.
Mastering these intermediate techniques opens the door to much more complex builds. Once you are comfortable with plunge routing and building custom jigs, you will be ready to tackle advanced furniture making techniques. Learning the right order of operations is key to your success, and it is a method I teach extensively in my step by step illustrated tutorials designed specifically for beginner woodworkers. With patience and the right setup, you can add a flawless juice groove to any cutting board.
You need a core box router bit, also known as a round nose bit. I typically use a half inch or five eighths inch diameter bit depending on the overall size of the cutting board.
A juice groove should generally be between one quarter and three eighths of an inch deep. It is best to cut this depth in multiple shallow passes rather than trying to rout it all at once.
For a standard meat carving board, the ideal cutting board juice groove dimensions are typically 1/2 inch to 5/8 inch wide, and about 1/4 inch to 3/8 inch deep, spaced about 3/4 inch to 1 inch from the outer edge of the board.
Yes, a blood groove cutting board is simply another term for a board with a juice groove. The term "blood groove" is commonly used when referring to heavy-duty meat carving boards designed to catch meat juices during a BBQ.
Yes, a plunge router is highly recommended. It allows you to safely lower the spinning bit into the wood and raise it back out cleanly when you finish the loop.
Level up your woodworking skills, then explore my full 23+ Woodworking Plans PDF bundle to discover your next challenging project.
Get The Complete Bundle ↗
Master Woodworking Educator · Since 2004 · 2,800+ Students Taught
I am a Master Woodworking Educator with over 20 years of hands on experience in furniture making. I have helped thousands of students from complete beginners to aspiring professionals build beautiful, functional pieces with confidence. My 23+ Essential Woodworking Plans PDF collection is trusted by students in over 50 countries. Learn more about my journey →
