
The Shaker Rocking Chair Plan – Complete Wooden Rocking Chair Guide
Learn how to build a rocking chair with this complete plan. Master mortise and tenon joinery, spindle turning, steam bending wood, and Shaker tape seat weaving.
Learn how to build a rocking chair with this complete plan. Master mortise and tenon joinery, spindle turning, steam bending wood, and Shaker tape seat weaving.
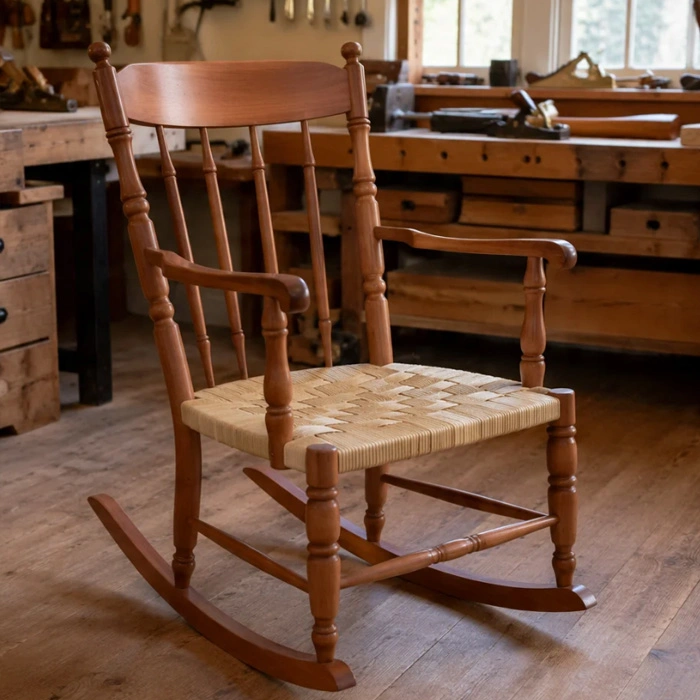
Are you looking for comprehensive wooden rocking chair plans to elevate your woodworking skills? You have arrived at the perfect place. Countless woodworkers ask me how to build a rocking chair that balances timeless elegance with unyielding durability. The answer lies in the iconic Shaker style rocking chair. This page offers free rocking chair plans to guide you through building a sturdy, comfortable masterpiece equipped with a beautiful woven tape seat. The finished piece measures approximately 28 inches deep, 22 inches wide, and 43 inches tall. Because it introduces advanced techniques, such as spindle turning and steam-bending, these DIY rocking chair plans are ideal for intermediate to advanced woodworkers. We will cover everything from milling the wood to the traditional art of assembling a shaker rocker plan. Let's build a chair that will be cherished for generations.
Yes, the step-by-step guide on this page serves as excellent free rocking chair plans. However, due to techniques like steam bending and lathe turning, this specific Shaker design is geared toward advanced woodworkers.
For precise dimensions, full-scale templates, and high-resolution blueprints, you can download our complete rocking chair plans PDF included within our premium 23+ woodworking bundle.
A Shaker style rocking chair eliminates superfluous ornamentation, focusing instead on structural integrity, graceful steam-bent curves, and the iconic woven tape seat.
Following these wooden rocking chair plans, the completed piece measures approximately 28 inches deep, 22 inches wide, and 43 inches tall.
Before you begin building, it's incredibly helpful to understand the philosophy behind the Shaker style rocking chair. The Shakers were a religious community that flourished in America from the late 18th century through the mid-19th century. Their furniture reflected their core beliefs: simplicity, utility, and honesty. They believed that "to make a thing well was in itself an act of prayer" and that the appearance of an object should strictly follow its function.
Historical rocking chair woodworking plans reveal that the Shakers eliminated all superfluous decorations such as inlays, carvings, and heavy moldings. Instead, they used high-quality materials and precise joinery to create pieces that were both beautiful and functional. When you follow these shaker rocker plans, you are not just building a piece of furniture, you are continuing a tradition of craftsmanship that has influenced generations of modern woodworkers.
For these wooden rocking chair plans, you will need approximately 20 board feet of hardwood. Cherry, maple, and walnut are excellent, period-accurate choices.
Learning how to build a rocking chair properly requires a well-equipped workshop. Here are the essential machines:
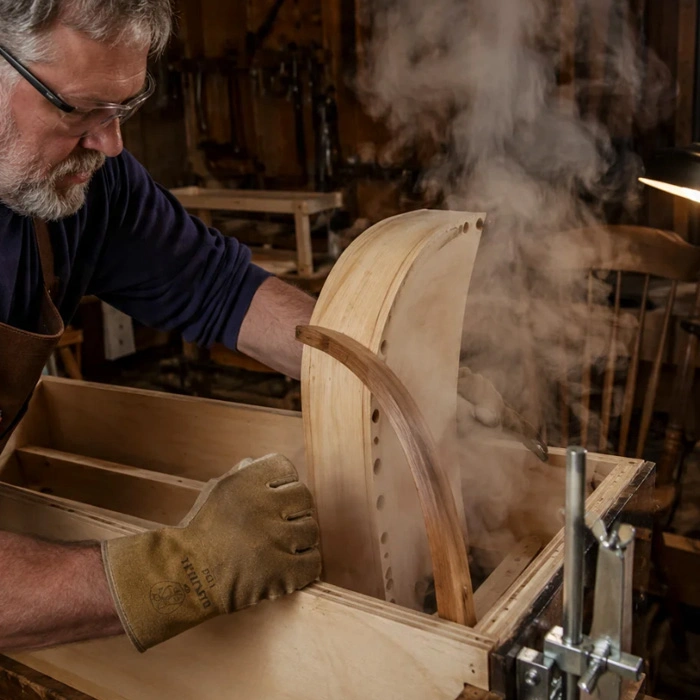
Executing these DIY rocking chair plans involves several distinct phases: turning, steam bending, mortising, assembly, and weaving.
Begin by milling all the stock for the rails, stretchers, posts, and spindles to length, slightly oversized in thickness. You will turn these parts on the lathe. Here are the key parts to turn:
Steam bending wood is a critical technique for this project. The back posts, back slat, and back rails are heated in a steam box to become flexible, then clamped to custom bending forms.
The mortise and tenon joinery in this chair requires precision. Use two shopmade jigs to hold the posts steady on the drill press. Drill adjacent mortises at precise angles, 80° for front posts and 100° for back posts. Some adjacent holes will intentionally intersect to strengthen the glue joints.
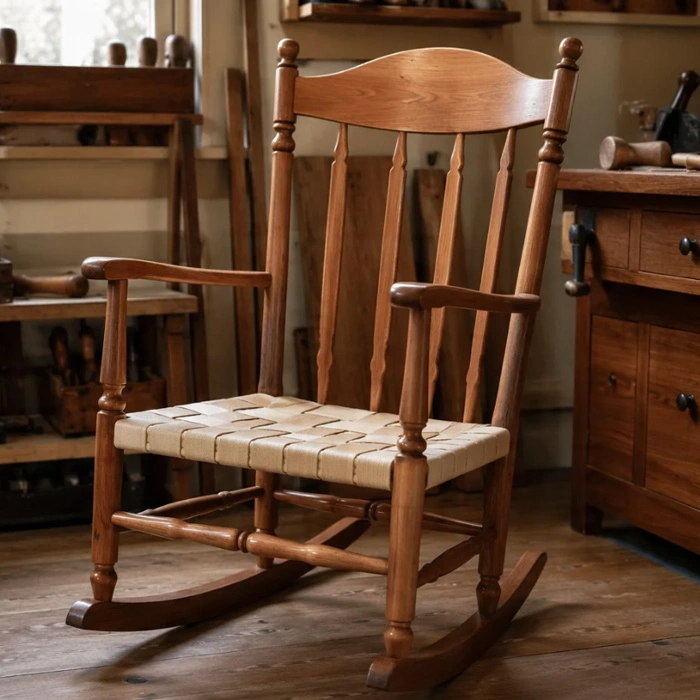
Dry-fit the entire chair using band clamps to hold the parts in place. Check that all joints fit snugly. Disassemble, apply wood glue to all mortise and tenon joints, and carefully reassemble. Measure diagonally to ensure the corners are perfectly square. Let the glue cure for 24 hours.
Mastering Shaker tape seat weaving adds the final authentic touch. Start by weaving the warp (front to back) using high-quality cotton Shaker tape, then seamlessly transition into weaving the weft (side to side). The traditional over-and-under weave is both remarkably comfortable and highly durable.
Sand the entire chair from 120 up to 320 grit. Apply Danish oil, Minwax Antique Oil, or clear shellac according to the manufacturer's instructions for a beautiful, natural sheen.
Crafting a masterpiece requires precision that goes beyond a standard web article. While these free rocking chair plans offer a fantastic starting point, taking your craftsmanship to the next level requires detailed, full-scale schematics. To ensure your angles and measurements are flawlessly accurate, I warmly invite you to explore our comprehensive woodworking bundle. Inside, you will find a meticulously detailed rocking chair plans PDF, alongside 23+ other professional projects designed to guide you perfectly through every cut.
Download The Premium Plans PDF Bundle ↗
Mahasa , Master Woodworking Educator Since 2004
Mahasa has been teaching woodworking for over 20+ years and has helped 2,800+ students worldwide build beautiful furniture with confidence. His expertise spans furniture design, joinery, turning, steam bending, and wood finishing. He created the 23+ Essential Woodworking Plans PDF Bundle to make woodworking accessible to beginners and students everywhere.
